Baked Chicken Tenders Recipe: Crispy, Easy, and Juicy
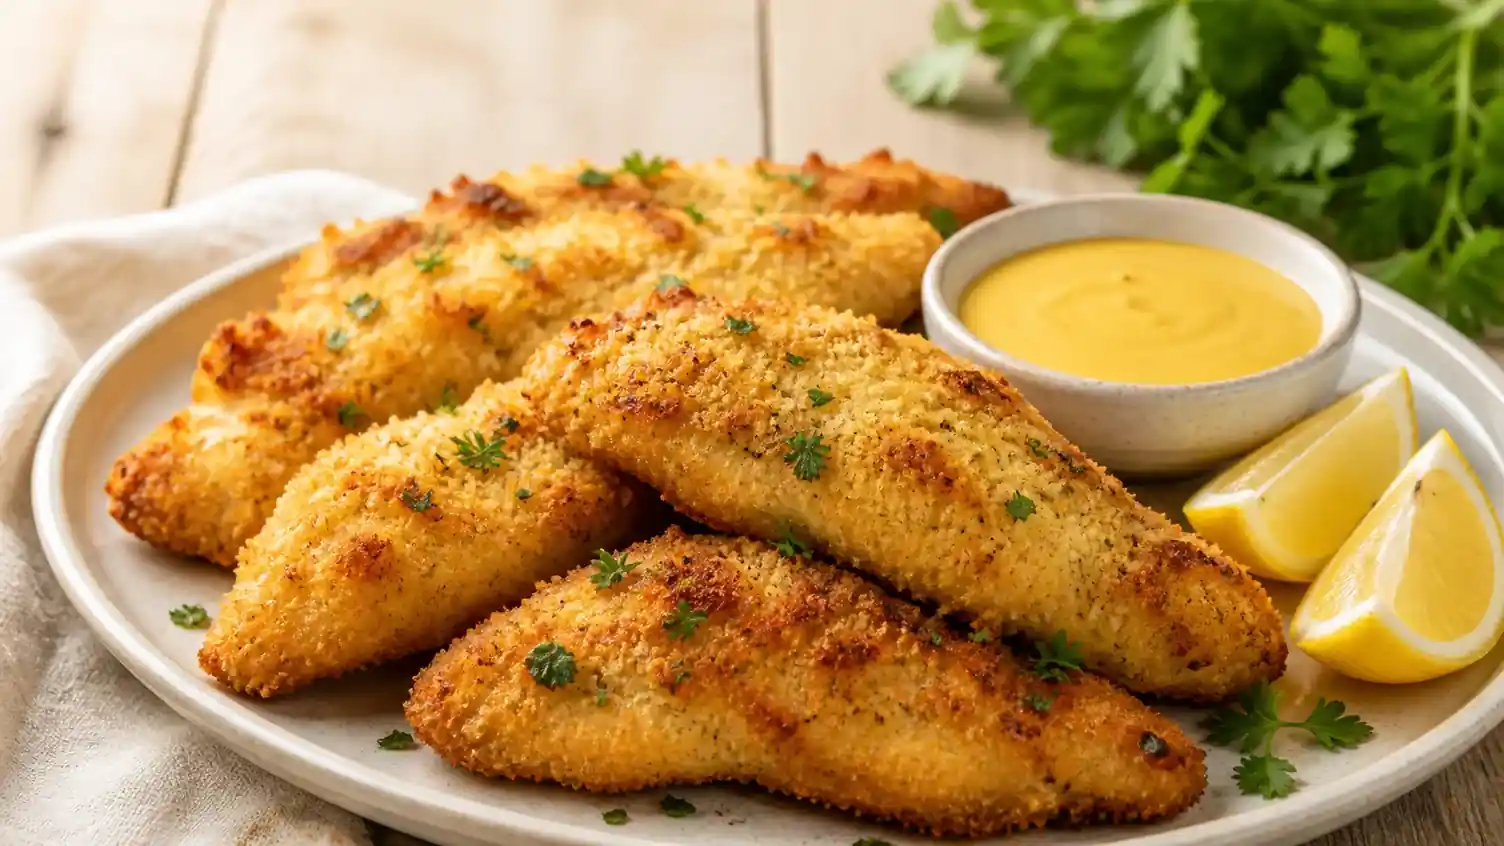
Make this baked chicken tenders recipe for crisp, juicy chicken with a seasoned panko coating. It is an easy family dinner with quick honey mustard dip.
Prep
20 minutes
Cook
18 minutes
Rest
5 minutes
Total
43 minutes
Servings
6
Difficulty
Easy
Cut
Chicken breast tenderloins
Method
Oven baked
Safe internal temperature
74°C / 165°F
Nutrition per serving
390 calories
- Protein
- 35g
- Fat
- 13g
- Carbs
- 31g
- Fiber
- 2g
- Sat. fat
- 3g
- Sugar
- 2g
- Sodium
- 690mg
Nutrition values are estimates based on the listed ingredients and serving size.
Baked Chicken Tenders Recipe: Crispy, Easy, and Juicy
This baked chicken tenders recipe gives you a crisp, golden coating without standing over a pan of hot oil. Chicken breast strips are coated in seasoned flour, egg, and panko, then baked on a rack so the heat can reach all sides. The result is a practical chicken dinner with a crunchy outside and a moist center.
A hot oven, lightly oiled crumbs, and a thermometer do most of the work. Set up the breading station before handling the chicken, and coat the pieces in small batches so the panko stays dry and textured. The quick honey mustard dip is optional, but it makes the tenders feel like a complete weeknight meal.
Why You'll Love This Recipe
- The ingredients are easy to find, and the oven method is straightforward.
- Panko creates a crisp coating without deep-frying.
- Chicken tenderloins cook quickly and are easy to portion for kids or meal prep.
- The savory seasoning is flexible, and there is no lengthy marinade.
- You can serve the tenders with vegetables, salad, wraps, or your favorite dipping sauce.
For more poultry dinner ideas, browse chicken recipes or try chicken quarter recipes when you want a hearty oven-roasted meal.
Baked Chicken Tenders Recipe Information
- Preparation time: 20 minutes
- Cooking time: 18 minutes
- Resting time: 5 minutes
- Total time: 43 minutes
- Servings: 6
- Internal temperature: 74°C / 165°F in the thickest tender
Ingredients
For the chicken tenders
- 2 pounds chicken breast tenderloins, about 16 to 18 pieces
- 3/4 cup all-purpose flour
- 1 teaspoon kosher salt, divided
- 1 teaspoon garlic powder
- 1 teaspoon sweet paprika
- 1/2 teaspoon onion powder
- 1/2 teaspoon ground black pepper
- 2 large eggs
- 1 tablespoon water
- 1 1/2 cups panko breadcrumbs
- 2 tablespoons olive oil or neutral oil
- Cooking spray, for the rack
For the quick honey mustard dip
- 1/3 cup Dijon mustard
- 2 tablespoons honey
- 1 tablespoon plain Greek yogurt
- 1 teaspoon lemon juice
Use chicken tenderloins if you can; their even size helps them cook at the same rate. If you only have boneless, skinless chicken breasts, slice them lengthwise into strips about 1 inch wide. Keep the pieces close in thickness so they finish together.
Step-by-Step Instructions
1. Heat the oven and prepare the pan
Place an oven rack in the center position and heat the oven to 220°C / 425°F. Set a wire rack inside a large rimmed baking sheet and coat it lightly with cooking spray. The rack lets air reach the underside of the chicken, which helps prevent steam from softening the coating. If you do not have a rack, line the pan with parchment and turn the tenders halfway through baking.
2. Season the breading station
Set out three shallow bowls. In the first, combine flour, 3/4 teaspoon salt, garlic powder, paprika, onion powder, and pepper. In the second, whisk the eggs with water. In the third, mix panko with the remaining 1/4 teaspoon salt and the oil. Rub the oil through the crumbs with your fingers so they brown evenly in the oven.
Pat the chicken dry with paper towels. The flour clings better to dry chicken, which also helps the coating stay in place. Work with a few pieces at a time: coat each tender in flour, shake off the excess, dip it in egg, then press it firmly into the panko. Set the coated pieces on the prepared rack with a little space between them.
3. Bake until golden and safely cooked
Bake for 10 minutes. Carefully turn each tender with tongs, then bake for 7 to 10 minutes more. Since thickness affects the timing, start checking the largest pieces at 17 minutes. The coating should be deep golden, and the chicken should register 74°C / 165°F at the center.
Do not rely on color alone to judge doneness. Insert an instant-read thermometer into the thickest part of a tender, avoiding the baking rack. When it reaches the target temperature, transfer the chicken to a clean platter and let it rest for 5 minutes. That short rest gives the juices time to settle.
4. Stir together the dip and serve
While the chicken rests, stir together the Dijon mustard, honey, Greek yogurt, and lemon juice in a small bowl. Taste and add a pinch of salt if needed. Serve the tenders hot with the dip, lemon wedges, and a simple vegetable side.
Tips for Best Results
Use a wire rack when you can. It is the easiest way to keep the bottom crust from softening. If you are baking directly on parchment, use a thin coating of oil spray and turn the chicken carefully so the crumbs stay in place.
Avoid crowding the pan. Tenders that touch will steam at the edges instead of browning. Use two baking sheets if necessary, and rotate their positions halfway through the cooking time.
Panko is worth seeking out here. Its large, flaky crumbs create more texture than standard fine breadcrumbs. For a darker, more toasted surface, spread the panko on the sheet pan and toast it for 3 to 4 minutes before combining it with the oil. Watch it closely because it can brown quickly.
Keep one hand for the dry ingredients and one for the egg. This simple habit keeps the breading bowls from turning into a sticky mess and makes coating the chicken faster.
Ingredient Substitutions
Regular breadcrumbs can replace panko, although the finish will be less textured. Use the same amount and add an extra teaspoon of oil to encourage browning. Gluten-free panko and a cup-for-cup gluten-free flour blend also work well.
Swap the plain Greek yogurt in the dip for mayonnaise, or use only mustard and honey for a sharper, thinner sauce. For a milder seasoning blend, replace the paprika and pepper with 1 teaspoon of dried Italian seasoning. Keep the salt level steady, especially if your breadcrumbs are already seasoned.
Chicken thighs are not the best substitute because their irregular shape and longer cooking time make them harder to bread and bake evenly. If you use breast strips rather than tenderloins, cut them uniformly and verify that every piece reaches the safe temperature.
What to Serve With Baked Chicken Tenders
These tenders are easy to turn into a full meal. Pair them with roasted potato wedges, steamed broccoli, cucumber salad, or corn on the cob. Lemony slaw adds crunch and a bright contrast to the warm coating. For a lighter plate, serve the tenders over a large green salad with the honey mustard thinned into a dressing.
They also work well in sandwiches and wraps. Slice leftover tenders and tuck them into flatbread with lettuce, tomato, and extra sauce. If you are planning a chicken-focused menu, try chicken wing recipes for a casual gathering or chicken saltimbocca for a skillet dinner with a different flavor profile.
Storage Instructions
Cool leftover chicken tenders within 2 hours of cooking, then place them in a shallow airtight container. Refrigerate for up to 3 days, and store the sauce separately so the crust does not soften.
For longer storage, freeze cooled tenders in a single layer on a lined tray until firm, then transfer them to a freezer-safe container or bag. They keep their best quality for up to 2 months. Freeze the sauce separately only if you are comfortable stirring the mayonnaise or yogurt smooth after thawing; otherwise, make a fresh batch when serving.
Reheating Instructions
For the crispest leftovers, reheat refrigerated tenders on a wire rack in a 200°C / 400°F oven for 8 to 12 minutes, until hot throughout. An air fryer at 190°C / 375°F for 4 to 6 minutes also works well. Reheat frozen tenders at 200°C / 400°F for 15 to 18 minutes, turning them once.
Microwaving is safe for a quick lunch, but it softens the panko coating. If you use the microwave, heat the tenders just until warmed through, then finish them in a hot skillet or toaster oven for a few minutes. Always reheat chicken until the center is steaming hot.
Frequently Asked Questions
Can I make this baked chicken tenders recipe ahead?
You can bread the chicken up to 4 hours ahead and refrigerate it uncovered on the prepared rack. Baking it fresh gives the best crust. Make the honey mustard dip a day ahead and store it covered in the refrigerator.
Why did my coating fall off?
The usual causes are wet chicken, too much flour left on the surface, or handling the tenders too often. Pat the chicken dry, shake off excess flour, press the panko on firmly, and turn each piece only once while it bakes.
Can I use chicken breasts instead of tenderloins?
Yes. Slice boneless, skinless chicken breasts into even strips, roughly the size of tenderloins. Homemade strips vary more in thickness, so begin checking their temperature a few minutes early and remove smaller pieces as soon as they reach 74°C / 165°F.
Is the honey mustard dip included in the nutrition estimate?
Yes. The estimates include one sixth of the chicken, the breading ingredients, oil, and the listed dip. Actual values will vary with the size of the tenderloins and how much breading or sauce is left in the bowls.
Conclusion
This baked chicken tenders recipe makes crisp, satisfying chicken with a modest amount of oil. Keep the pan uncrowded, use panko, and rely on the thermometer for a juicy, safely cooked center. Add the honey mustard dip and a simple side, and you have an easy dinner worth repeating.
Nutrition estimates are per serving and include the honey mustard dip.
Keep cooking
You might also like

Chicken Breast Recipes with Garlic, Lemon, and Herbs
Chicken breast recipes with garlic, lemon, and herbs make a juicy oven-baked dinner with roasted potatoes, simple timing, and reliable results.
Chicken · Prep 15 minutes · Cook 22 minutes

Crispy Oven-Baked Chicken Parm Recipe for Weeknights
Make this chicken parm recipe with crisp oven-baked chicken, rich tomato sauce, and bubbling mozzarella for a comforting, easy dinner everyone will love.
Chicken · Prep 20 minutes · Cook 35 minutes
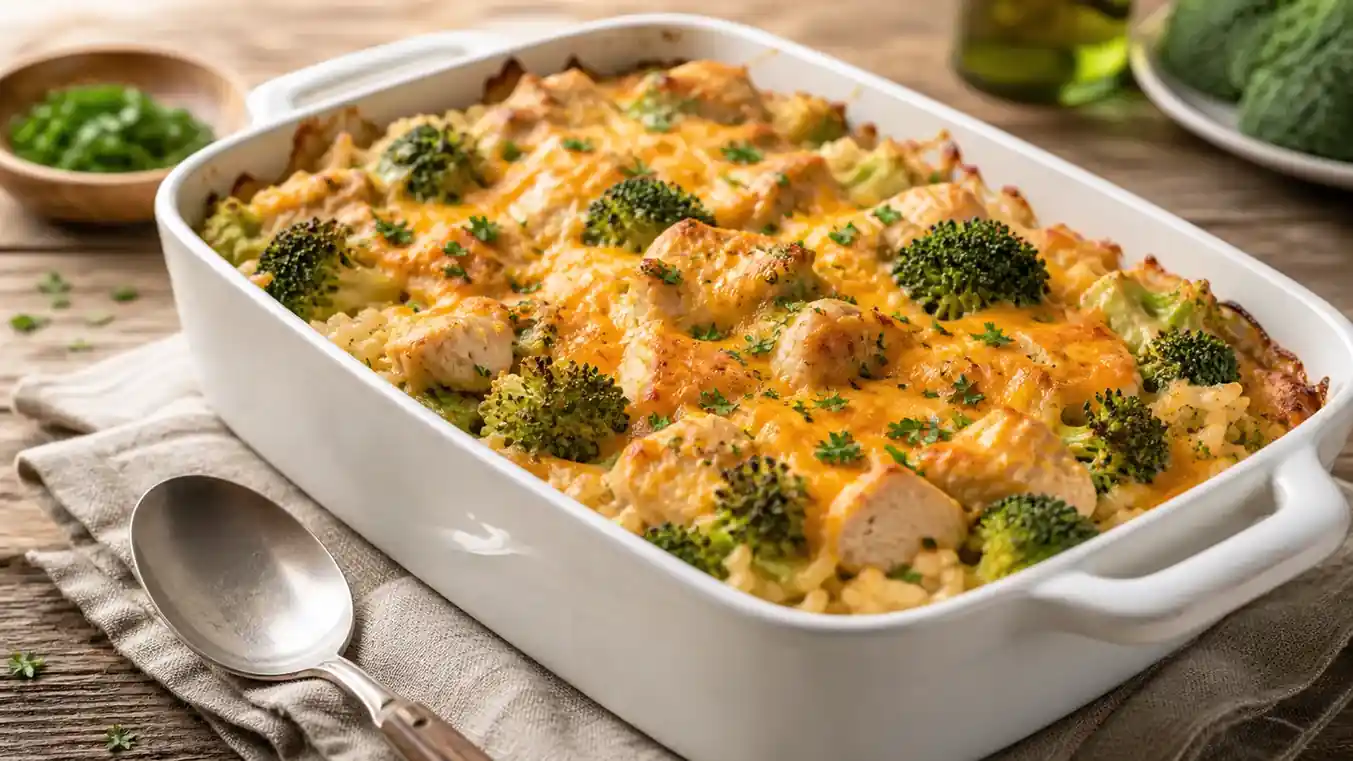
Easy Recipe for Broccoli Rice Casserole with Chicken
This recipe for broccoli rice casserole with chicken makes a creamy, cheesy family dinner with tender chicken, rice, broccoli, and a golden cheese topping.
Chicken · Prep 20 minutes · Cook 35 minutes